Cloud Removal is a new feature we’ve introduced in all our Anti-Malware software. It was designed to help a requester and a helper to exchange data in a secure way.
Cloud Removal allows anyone to upload a scan report on our server and get a permalink to share with someone willing to help. With this permalink, the helper will be able to visualize the report in his browser and create a removal script without any software.
With the removal script created, the requester can download it and apply it on his machine to remove the infection.
REPORT UPLOAD
Cloud Removal feature is located in the Report view, that you can find after a scan or in the History tab.
In the “Cloud Removal” tab, hit the “Upload” button to start sending your report to the cloud.
You can even choose a unique (registered) helper from the list. If you don’t have any, or don’t want to limit read access, leave blank. (Note: This doesn’t replace forum communication, and won’t assign anything to this helper. If you aren’t already in contact with him, please don’t select a helper).
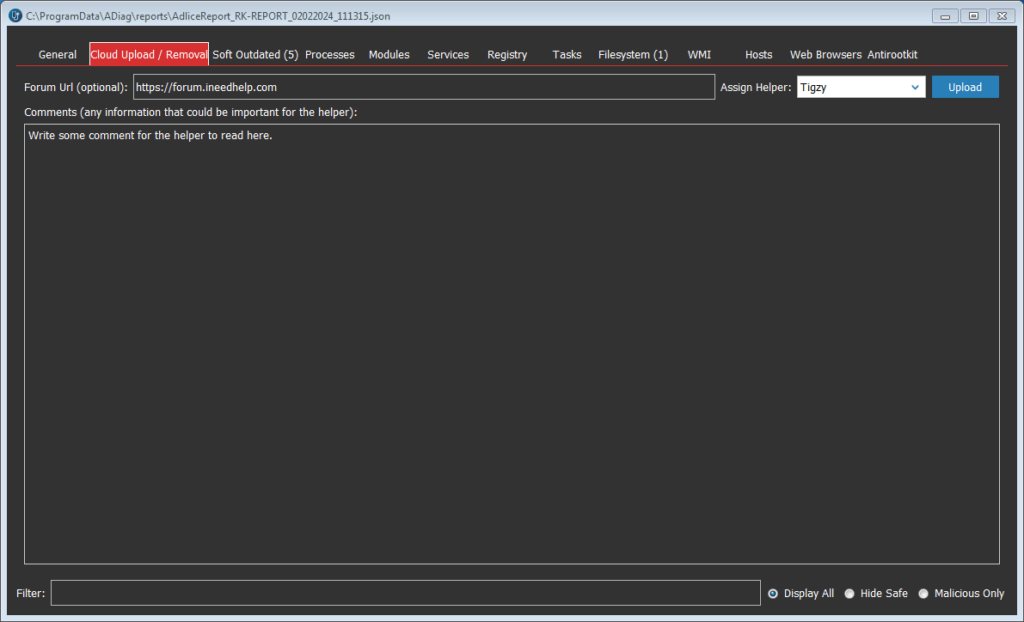
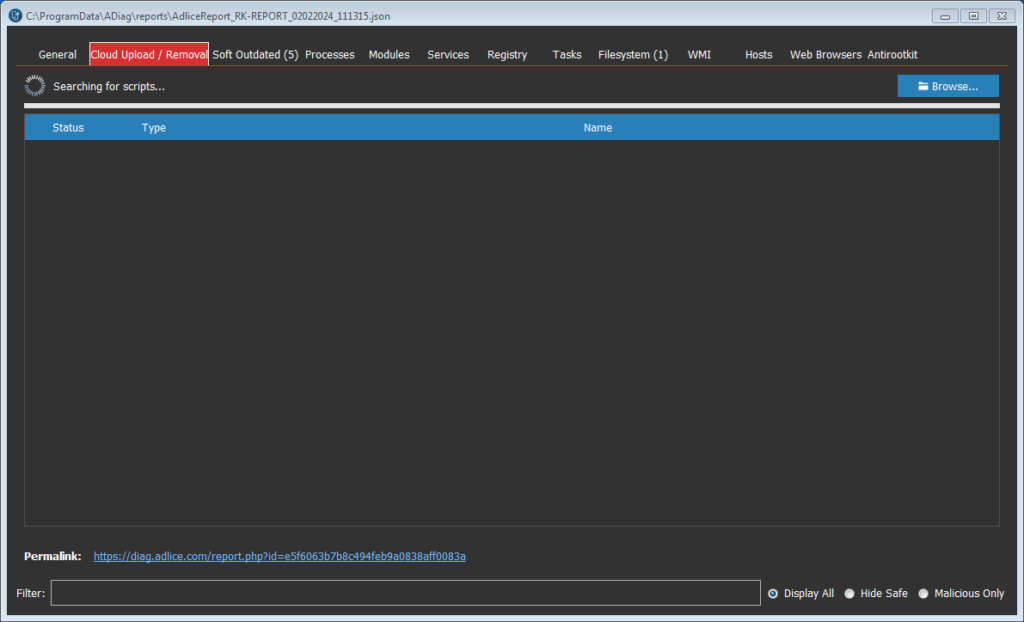
After your report is uploaded, you are being given a permalink. This is a SECRET link to your report, that you need to share with the helper helping you. Permalinks are PUBLIC, so anyone having the link can open and read the information. Share at your own discretion.
REMOVAL SCRIPT
Starting here, this is instructions for the helpers only. If you are a user, just wait for the script to be available and communication with the person helping you. Go to the next section.
Adlice Diag has a scripting engine able to understand a specific syntax.
After parsing a file, Diag is able to start a removal off that script, and create a removal report in the end.
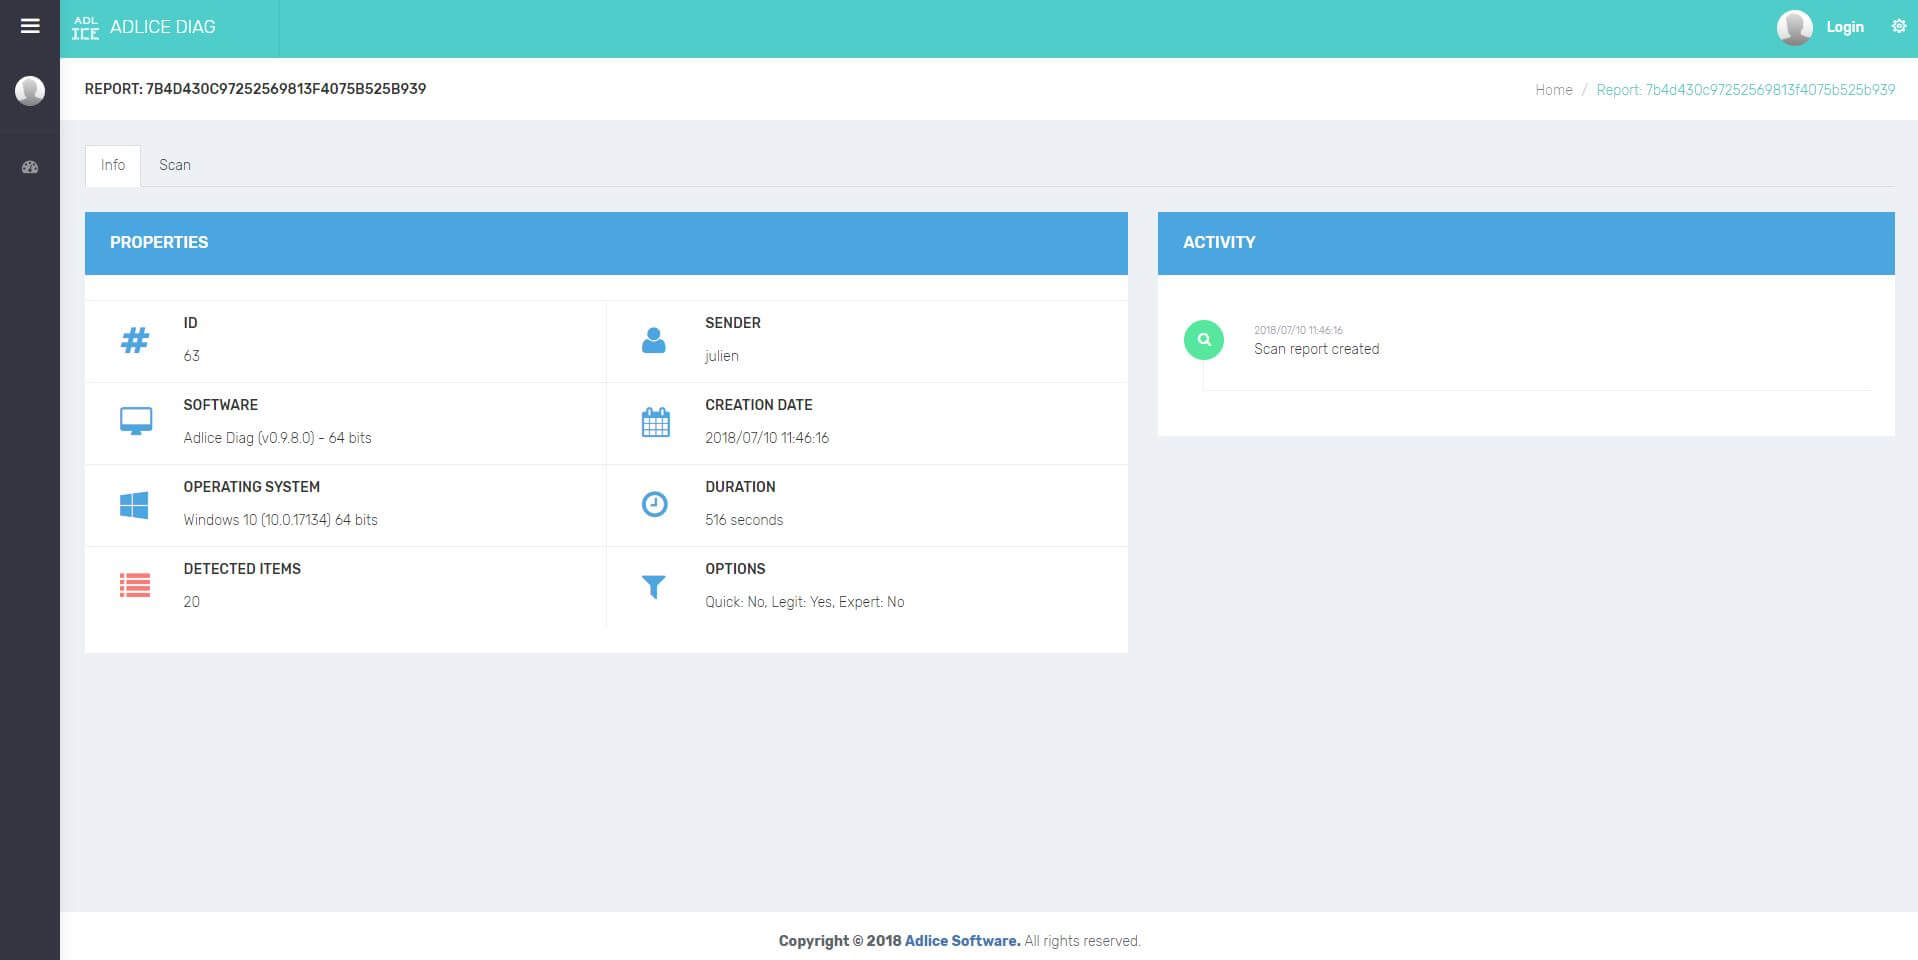
In order to create a removal script, a helper needs to open a permalink gotten from a requester.
Once done, elements can be checked/unchecked just like in the software itself. Filters are also available the same way to better organize information during analysis.
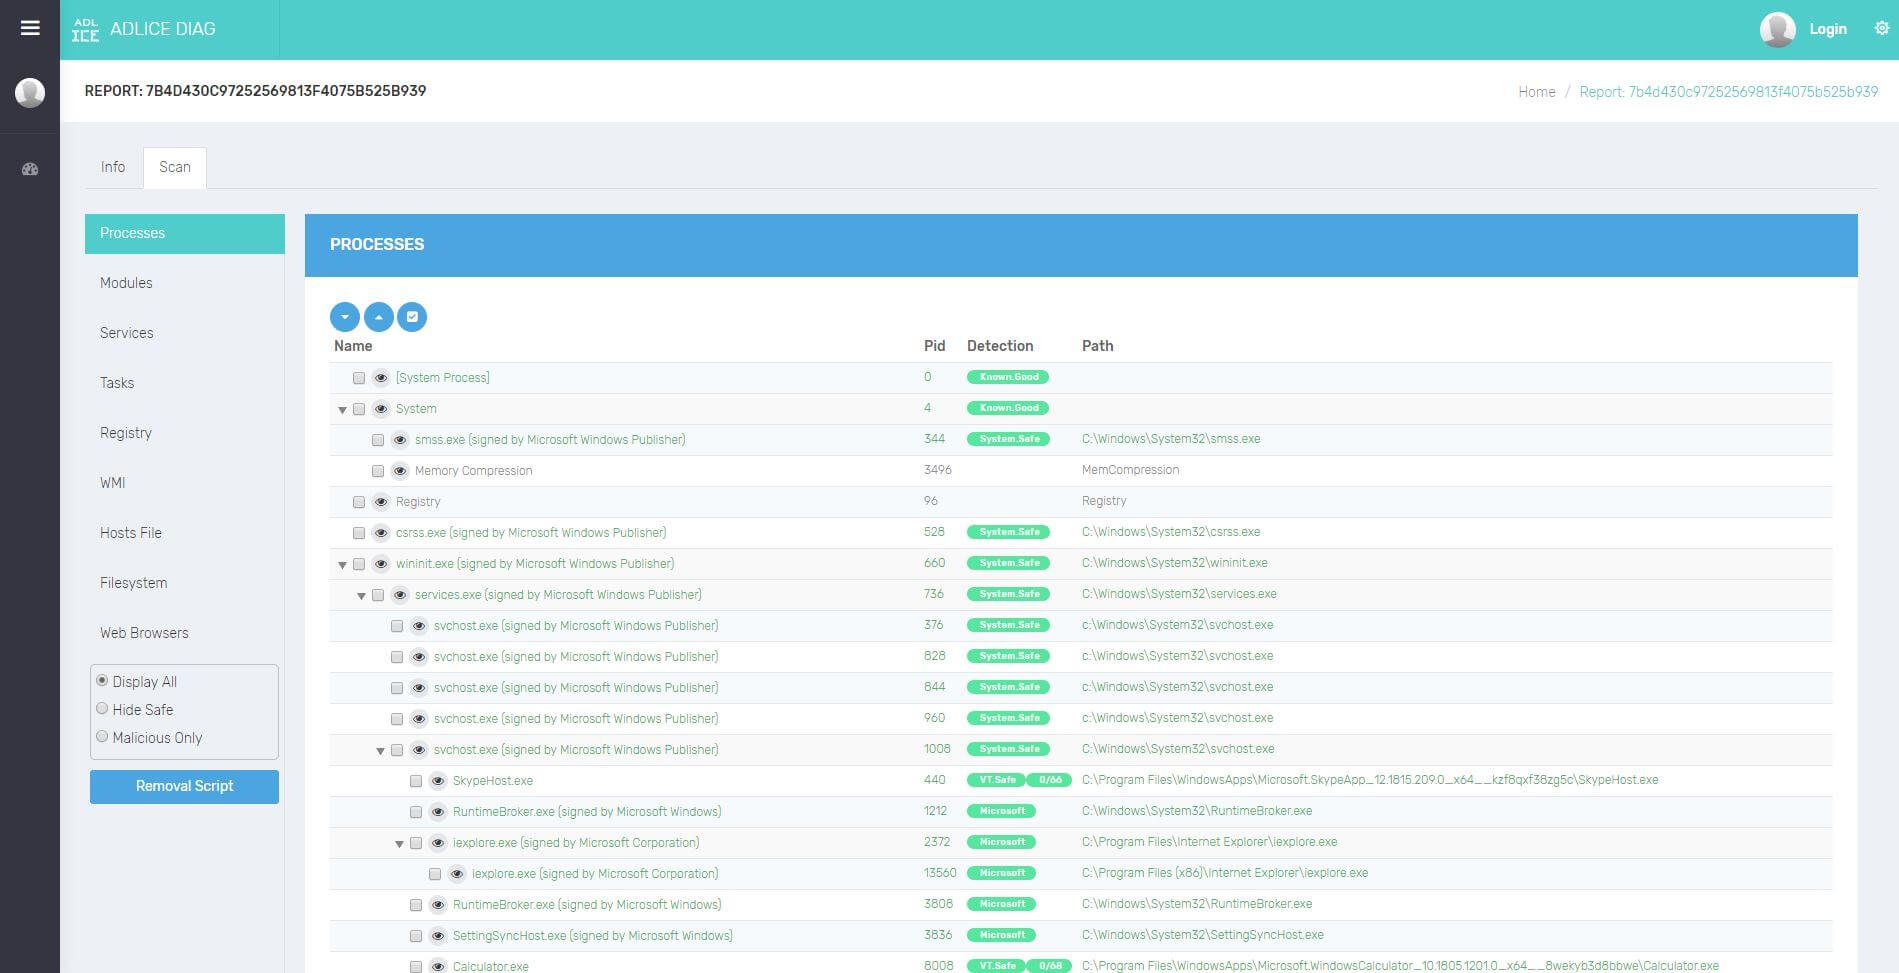
When your selection is ready, hit the “Removal Script” button. Here, 2 possible scenarios:
1. You are registered and designated by the requester.
The script will be saved in the cloud, and can be viewed in its own tab (after refresh). The requester will also get a notification that a script is ready to be applied, and will be asked for download. The script can also be modified and updated by you.
2. You are NOT registered, or NOT the designated helper.
You cannot save the script in the cloud, only download it on your machine.
In such case, you will need to send the script manually to the helper, and the requester will need to manually load it.
LOADING SCRIPT
There’s 2 ways to load a removal script from the Cloud Removal tab.
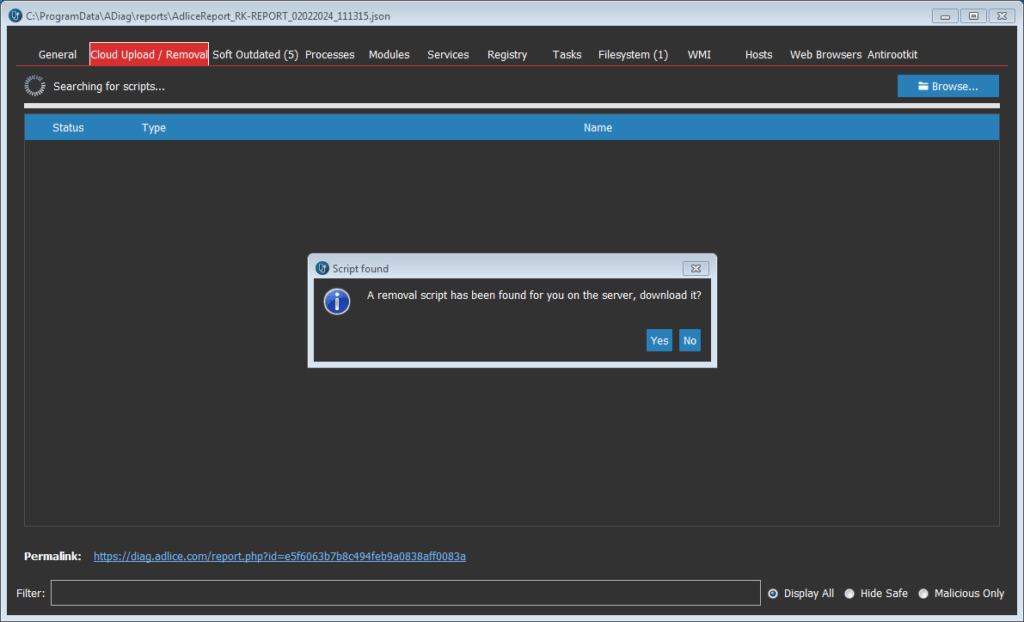
1. The easy way is available if the designated helper has created and saved a removal script in the cloud. The Cloud Removal (needs to be opened) will detect the script and prompt you for script availability. If you choose to download it, it will be loaded automatically.
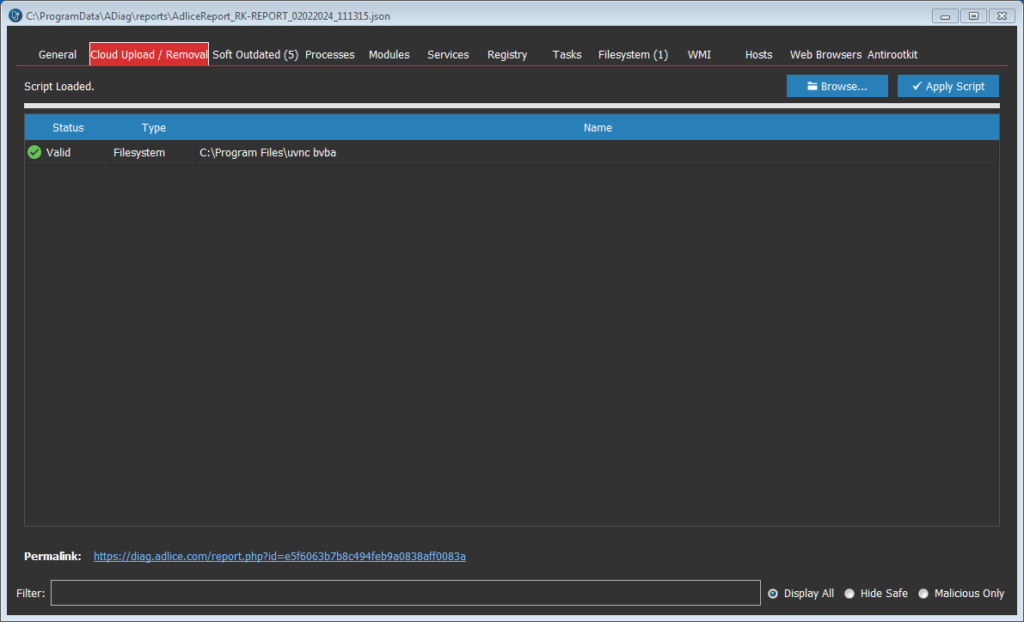
2. The manual way is available in any other case. You need to download the script and get it available for you by the helper, and load it using the “Browse” button.
After loading the script, some errors may happen if the entry was modified by hand (syntax error) or more generally if the item doesn’t exist anymore on the machine.
WARNING! Please avoid at all time loading scripts created for another machine.
STARTING SCRIPT
Once your script is loaded, hit the “Apply Script” button.
The Removal will start, and will update script elements as they are processed.
Upon completion, a removal report is created and made accessible from the Report view (“Open removal” button) or in the history tab.
The Removal report can also be uploaded to present your results to your helper.
After removal is done, the workflow is complete and new scans will be done in a separate view.